
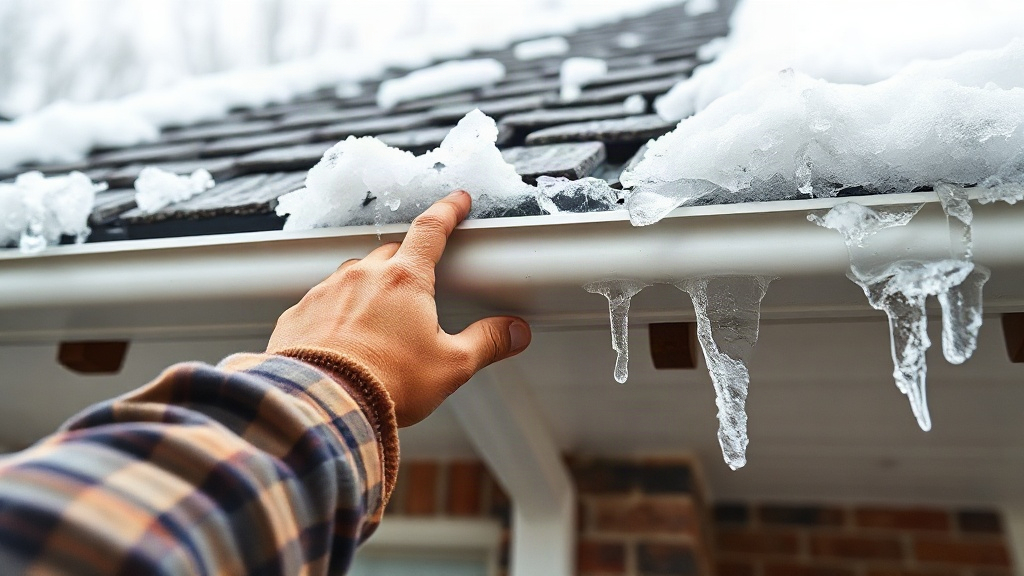
09 Nov How to Prevent Ice Dams on Your Roof Before Winter Damage Starts
Icicles hanging from your gutters look charming until water starts dripping through the ceiling. If you want to know how to prevent ice dams, the answer starts long before the first freeze: keep your roof cold and let meltwater drain freely. Warm air leaking into the attic melts snow high on the roof; the water refreezes at the cold eaves and slowly backs up under your shingles.
Quick answer: Stop warm air from reaching the roof deck by air-sealing the attic floor and adding insulation, then keep meltwater moving with proper ventilation and clear gutters. The key is a cold roof deck and a warm, dry attic below it.
This guide walks through the tools you need, a step-by-step prevention routine, practical tips, and the mistakes that undo good work.
What you need before starting
Ice dams form because of a temperature difference between the upper roof and the eaves. The fixes are mostly cheap materials plus a few hours in the attic. Gather these before you climb up.
Tools and materials:
- A ladder rated for your weight, plus a flashlight or headlamp
- A respirator, gloves, and knee pads for attic work
- An infrared thermometer or a cheap thermal camera for spotting heat leaks
- Spray foam and caulk for sealing gaps around wires and pipes
- Fiberglass or cellulose insulation batts, plus a rake to spread loose fill
- A roof rake with a long handle (for one-story sections)
- A gutter scoop and a bucket
- Snow guards or heat cable, if your roof pitch or climate calls for them
Prerequisites: Clear access to your attic hatch, a helper for ladder work, and a dry, above-freezing day for outdoor tasks. Check your homeowner’s policy first if you plan to hire a roofer, since some policies cover ice-dam-related water damage only when you can show regular maintenance.
Know your climate zone. In heavy-snow regions such as the Northeast and mountain West, plan for professional-grade steps like proper soffit and ridge venting. In milder zones, sealing and gutter clearing usually handle most of the risk.
It also helps to know your roof’s pitch and overhang before you buy anything. Steep roofs shed snow quickly but demand special snow guards, while wide overhangs catch more refreezing at the edge. Measure both, then match your materials to the geometry rather than guessing.
Finally, photograph your attic and eaves before you start. The pictures give you a baseline for comparing temperatures and snow patterns after your first winter, and they double as documentation if you ever file an insurance claim for ice-dam damage.
Never work in an attic alone on a hot day without water, and never step off a joist onto bare drywall. One wrong step means a costly repair.
Step-by-step instructions
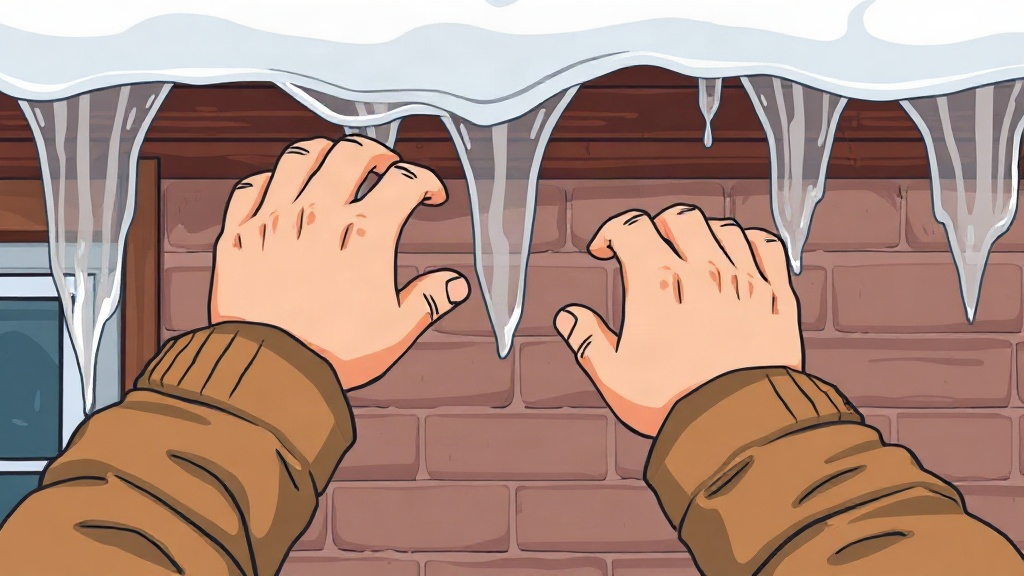
These steps move from the source of the heat to the water itself, which is the order that actually works.
- Clear the gutters and downspouts before the first snow. Stand on a stable ladder, scoop out leaf debris with the gutter scoop, and flush the downspouts with a hose. Meltwater needs an open path off the roof.
- Air-seal the attic floor. Seal gaps around wires, vent pipes, light fixtures, and the attic hatch with spray foam or caulk. Most heat loss enters the attic through these small openings.
- Add or level insulation. Check the depth of your existing insulation. In most cold climates, aim for a layer deep enough to bury the ceiling joists completely, roughly 12 to 15 inches for fiberglass. Use the rake to spread batts and fill low spots.
- Open the ventilation path. Confirm that soffit vents are not blocked by insulation and that ridge or gable vents are clear. Baffles keep insulation off the vents and let cold air flow over the roof deck. Target balanced intake at the eaves and exhaust at the ridge.
- Inspect the roof from the ground. Look for curled shingles, worn flashing, and dark streaks that signal ice-dam damage from past years. Repair damage now, before it becomes a leak.
- Clear snow safely after storms. Use the roof rake from the ground to pull snow off the lower edge of the roof. Leave the top layers in place and never climb onto a snow-covered roof.
- Check the results. On a cold, sunny day, use the thermometer to compare attic temperatures. A well-sealed attic should stay close to outdoor temperatures.
If the attic still runs warm, recheck the hatch, the furnace flue, and any recessed lights, since those are the usual stragglers. Seal what you find and repeat the thermometer test after the next cold snap. For persistent heat, call a professional to inspect ductwork running through the attic.
A thermal camera quickly reveals where heat is escaping. Scan the ceiling from inside the attic on a cold morning for clear results.
Tips for better results
Prevention works best when you treat the whole system, not one symptom. These habits keep ice dams from returning.
Seal the attic hatch first.
A thin, uninsulated hatch leaks more heat than many people expect. Add weatherstripping and a foam insulation board to the back of it. It is one of the cheapest, quickest wins available.
Keep the attic ventilated, not just insulated.
Insulation slows heat loss; ventilation removes what remains. Pair proper intake and exhaust so warm air escapes before it warms the deck. A home center can size vents by roof area, and one square foot of vent area per 150 square feet of attic floor is a common starting ratio.
Control indoor heat sources.
Stack storage away from the attic floor, and make sure no furnace flue or recessed light pours heat upward. Replace old recessed lights with sealed, insulated units or cover them with a fire-rated box.
Watch the soffit clearance.
Stuffing insulation tight against the eaves blocks airflow and defeats the whole design. Use baffles to hold a clear channel from soffit to ridge.
You cannot avoid all snowmelt from the sun, but a cold, well-vented deck lets that water slide off instead of freezing at the edge.
Test year by year. After the first heavy snow, check for ice at the eaves. A thin glaze is normal; thick, blocked ice means a heat leak survived your fixes.
To make that yearly check more useful, log dates alongside your observations. Note when ice appears, how thick it grows, and which side of the roof shows it first. Over two or three winters, the pattern points to the exact heat leak, letting you target the remaining fixes instead of resealing the entire attic.
Never chop at ice with an axe, shovel, or hatchet. You risk tearing shingles and personal injury. Use a roof rake from the ground or call a professional.
Common mistakes to avoid
Most ice dams return because of one of these slip-ups.
- Chipping at ice with a shovel or axe. This rips shingles, gouges gutters, and sends you off the roof. Let a rake or heat cable handle it from safety.
- Adding insulation without sealing first. Loose insulation over vent gaps still leaks warm air upward. Seal the leaks, then insulate.
- Blocking the soffit vents. Stuffing insulation into the eaves area stops the airflow that keeps the deck cold. Use baffles.
- Ignoring the roof itself. Worn shingles, poorly flashed chimneys, and damaged gutters let water in regardless of attic work. Fix these too.
- Assuming a new roof solves the problem. A new shingle layer sits over the same warm attic. Seal and ventilate even on a fresh roof.
- Overusing heat cable. Cable can carve a drainage channel in a pinch. It will not fix a hot roof, and it costs money to run all winter.
- Forgetting the gutters. Full or sagging gutters trap meltwater and give it nowhere to go. Clean them and repair hangers before the snow.
You can also compare approaches before you spend. Comparison: attic fixes vs. heat cable vs. roofing improvements
This table shows where each tactic fits; notice that attic work addresses the cause while the others manage the symptom.
| Approach | Cost level | Fixes root cause? | Best use |
|---|---|---|---|
| Air sealing plus insulation plus venting | Moderate | Yes | Year-round solution |
| Heat cable at eaves and gutters | Low to moderate | No | Short-term backup |
| Metal roof, ice guards, or snow guards | High | Partly | Heavy-snow climates |
A combination works best. Seal the attic for the long term, and keep a heat cable as backup in unusually deep snow years.
Another frequent misstep is sealing the attic so tightly that moisture cannot escape. Trapped humidity condenses on the cold roof deck, and that damp sheathing invites rot and mold. Keep a path for air to move, and use a fire-rated cover around any heat source rather than boxing it in.
Homeowners also tend to treat prevention as a one-time project. Attic leaks reappear as caulk dries, insulation settles, and new wiring or ductwork opens fresh gaps. Walk the attic each fall with a flashlight and recheck the hatch seal, since the effort is small compared with the repair bills.
FAQ
How much does it cost to prevent ice dams?
Small fixes are cheap. A few cans of spray foam, weatherstripping, and baffles cost well under what a water-damage repair runs. Professional air sealing and attic insulation typically run from several hundred to a few thousand dollars, depending on attic size and your area. Compare that to replacing ruined drywall and flooring after a leak.
When is the best time to start?
Late summer or early fall, before the first cold spell. Seal and insulate while the attic is still comfortable to crawl through. Clean gutters after the leaves drop and stow your roof rake near the door.
Do I really need a professional, or can I do it myself?
You can handle gutter cleaning, the hatch seal, snow raking, and simple foam sealing. Leave blown-in insulation, vent math, and roof repairs to pros. Attic air-leak work is easy to get wrong, and roof work carries real fall risk.
Can heat cable alone solve the problem?
No. Heat cable melts a small channel at the eaves, but a warm roof still melts snow higher up. It works as a backup during a very snowy stretch. Fix the heat loss and ventilation first.
Does this apply to flat or low-slope roofs?
Yes, with a twist. Low-slope roofs usually use narrow-profile insulation and vent channels inside the roof assembly, so a roofing contractor should handle the work. Raking and clearing drainage still help.
Conclusion
Preventing ice dams boils down to one idea: keep the roof deck cold and give meltwater a clear path off the roof. Seal attic air leaks, insulate deeply, keep vents open, and clear the gutters before snow arrives. Skip the axe and the careless shortcuts, and no amount of snow will build up a ledge that can back water into your ceilings.
Your next step is simple. Pick one dry afternoon this fall, spot the warm spots in your attic with a flashlight, and seal the biggest leaks first. That single hour of work is the best defense you can buy against winter water damage.