
07 Oct Do Hidden Tape Measure Features Make Cutting Metal Easier for Beginners?
Most beginners grab a tape measure, mark a line, and start cutting — then wonder why the metal piece comes out a millimeter or two off. The tape measure itself may be the culprit. Those small markings you’ve never paid attention to, including the mysterious diamond, exist for reasons that matter far more when you’re working with metal than when you’re framing a wall. Understanding what is the diamond on a tape measure for is a good starting point, because it reveals how tape measures are designed around real-world cutting problems. Some of these features genuinely help beginners cut metal more accurately — but only if you know which ones apply and which ones don’t.
Quick Answer
The diamond on a tape measure marks the center points of standard joist spacing (19.2 inches), not a metal-cutting guide. It won’t directly help you cut metal. However, other hidden tape measure features — the sliding hook, the scribe mark, and the case’s printed size — can improve metal-cutting accuracy when used correctly. The diamond itself is a framing layout tool, so beginners cutting metal should focus on the hook and reference marks instead.
Key Takeaways
- The diamond marks 19.2-inch intervals used in floor and joist framing, not metal cutting.
- The sliding hook compensates for its own thickness, which matters when you measure from inside a corner or against a stop.
- The small number printed on the tape case (often 3 inches) lets you transfer inside measurements accurately.
- Consistent reference points and a sharp scribe line matter more than any hidden marking when cutting metal.
- No tape measure feature replaces the need for a proper blade, speed, and technique when cutting metal.
What the Diamond Actually Marks (And Why It’s Not for Metal)
The diamond on a tape measure is a layout mark for 19.2-inch spacing. It appears at 19.2, 38.4, 57.6 inches, and so on. Builders use it because it allows five joists or studs in an 8-foot span instead of four, saving material while keeping structural spacing within code in many applications.
That’s a wood-framing shortcut. It has nothing to do with cutting metal stock, pipe, angle iron, or sheet. If you’re cutting aluminum bar to length, the diamond won’t guide you. It’s simply not designed for that task, and trying to use it as a reference point will introduce confusion rather than accuracy.
What beginners often miss is that the diamond is a clue about how tape measures are built: every marking on the blade serves a specific trade. Knowing which trade each mark belongs to prevents you from misapplying it.
Hidden Tape Measure Features That Do Help Metal Cutting
Several features on a standard tape measure are useful for metal work, even though they weren’t designed specifically for it. Here’s what actually matters.
The Sliding Hook
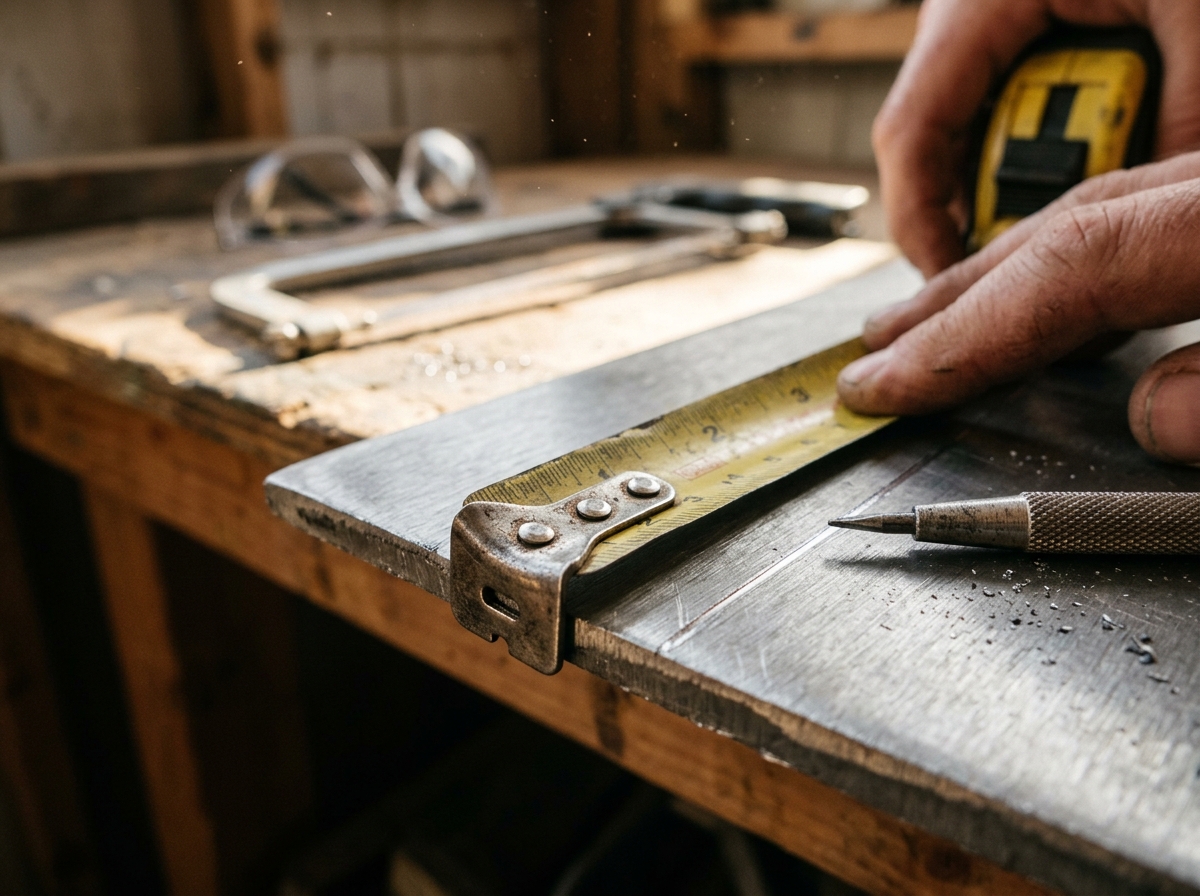
The metal hook at the end of the tape is intentionally loose — it slides in and out by roughly the thickness of the hook itself. This is not a defect. When you push the hook against an edge, the hook compresses, and the measurement starts from the inside face. When you hook it over an edge and pull, the hook extends, and the measurement starts from the outside face. Both readings are correct.
For metal cutting, this matters when you measure from a stop, a vise jaw, or the inside of a channel. If you assume the hook is rigid, your cut will be off by the hook thickness, which is often around 1/16 inch — enough to ruin a fitted joint.
The Printed Case Length
Look at the bottom of most tape measure cases. You’ll see a small number, commonly 3 inches or 75 millimeters. This is the case length. When you need to measure an inside distance — say, between two walls of a metal frame — you press the tape and case against one surface, extend the blade to the other surface, and add the case length to the reading. Without this, inside measurements are guesswork.
The Scribe Mark or Nail Slot
Many tape measures have a small slot or serrated edge near the hook. It’s designed so you can hook it on a nail head and pull, but it also works as a scribe point. On soft metal like aluminum, you can drag the hook’s corner lightly to leave a fine starting mark. It’s not a replacement for a proper scribe, but it’s a quick reference when you’re away from your bench.
Why These Features Still Don’t Guarantee an Accurate Metal Cut
A tape measure gives you a measurement. Cutting metal accurately requires transferring that measurement without losing precision — and that’s where beginners usually fail, not at the tape itself.
Common problems include:
- Marking with a dull pencil or pen that produces a wide line, so the cut drifts to one side.
- Measuring once and cutting once, without checking the mark against a square.
- Letting the blade twist or sag over a long distance, which adds error.
- Forgetting that saw blades remove material (the kerf), so the finished piece is shorter than the mark.
The tape measure is only the first step. If you’re cutting aluminum, the blade angle, stroke technique, and support of the workpiece affect accuracy far more than any hidden tape feature. A worthwhile reference for that side of the job is choosing the correct approach and angle before you cut.
Tape Measure vs. Other Marking Tools for Metal
Tape measures are convenient, but they’re not always the best choice for metal. Here’s how they compare with tools that are.
| Tool | Best Use on Metal | Main Limitation |
|---|---|---|
| Tape measure | Rough layout, long distances, checking stock length | Blade can sag or twist; hook play can confuse beginners |
| Steel rule | Short, precise measurements under 12 inches | Limited length; harder to use one-handed |
| Combination square | Marking square lines and transferring measurements | Only good for short distances |
| Scribe | Fine permanent lines on metal | Requires a straightedge; leaves a scratch |
| Calipers | Measuring thickness, diameter, inside gaps | Not practical for long lengths |
A practical workflow for beginners: use the tape measure for the overall length, then switch to a steel rule or combination square to mark the final cut line. This two-tool approach catches most tape measure errors before they turn into wasted metal.
Step-by-Step: Using a Tape Measure to Mark Metal for Cutting
- Confirm the tape’s hook is functioning. Push and pull it slightly; it should move by about the hook’s thickness.
- Measure from a consistent reference — either always hook-on-edge or always butted against a stop.
- Mark the measurement with a fine scribe or a sharp marker, not a dull pencil.
- Check the mark from the opposite end of the workpiece to catch reading errors.
- Add or subtract the kerf width of your cutting tool if the finished length is critical.
- Draw a square line across the metal using a combination square before cutting.
Skipping step four is the single most common beginner mistake. Measuring from both ends takes seconds and catches misreads immediately.
When Hidden Features Are Irrelevant to Your Cut
Not every tape measure feature applies to every job. If you’re cutting metal, ignore:
- The diamond (framing spacing)
- Black diamond or arrow marks for truss layout
- Red numbers every 16 inches (stud spacing)
- Foot markings and stud center marks
These are all wood-framing aids. Paying attention to them while cutting metal adds noise without adding accuracy. The features worth your attention are the hook, the case length, and the general condition of the blade — a bent or worn tape will never give a reliable reading, regardless of what’s printed on it.
Frequently Asked Questions
What is the diamond on a tape measure for?
It marks 19.2-inch intervals used for laying out joists and studs in framing. It allows five framing members in an 8-foot span. It’s not related to metal cutting.
Can I use a tape measure to cut metal accurately?
Yes, for rough lengths. For precise cuts, use the tape to get close and a steel rule, square, or scribe to mark the final line. Always account for blade kerf.
Why is the hook on my tape measure loose?
The hook slides by its own thickness so that inside and outside measurements are both accurate. It’s intentional, not a manufacturing defect.
What is the number on the bottom of a tape measure case?
It’s the case length, usually 3 inches or 75 mm. You add it to the blade reading when taking inside measurements.
Do I need a special tape measure for metalwork?
No. A standard tape measure works for layout. What matters more is using a scribe, square, and consistent measuring reference when marking metal.
Should I subtract the saw blade width from my measurement?
Only if the finished length is critical. The blade removes material, so the cut piece ends up shorter than your mark by roughly the kerf width.
Conclusion
The diamond on a tape measure is a framing layout mark, not a metal-cutting aid, so it won’t make your cuts more accurate on its own. What does help is understanding the sliding hook, the printed case length, and the importance of a consistent measuring reference. For metal, treat the tape as a rough layout tool and finish your marks with a steel rule, square, or scribe. That combination — not any hidden marking — is what turns a beginner’s cut into a clean, accurate one.