23 Jan How to install rear mountain bike wheel?
A rear wheel is an essential part of a mountain bike. It is essential because, without a rear wheel, you can’t ride the bike. However, installing a new rear wheel on your mountain bike is not as easy as you think. Here are some things that need to be considered while installing a new rear wheel on the best beginner mountain bikes.
If you are thinking of installing a rear mountain bike wheel on your bicycle, then this article is for you. This article will tell you everything about the front and rear mountain bike wheels.
How to install a rear mountain bike wheel?
To install a rear wheel on your mountain bike, you’ll need the following tools: a spoke wrench, a screwdriver, and an Allen key. Follow the steps to install the rear mountain bike wheel.
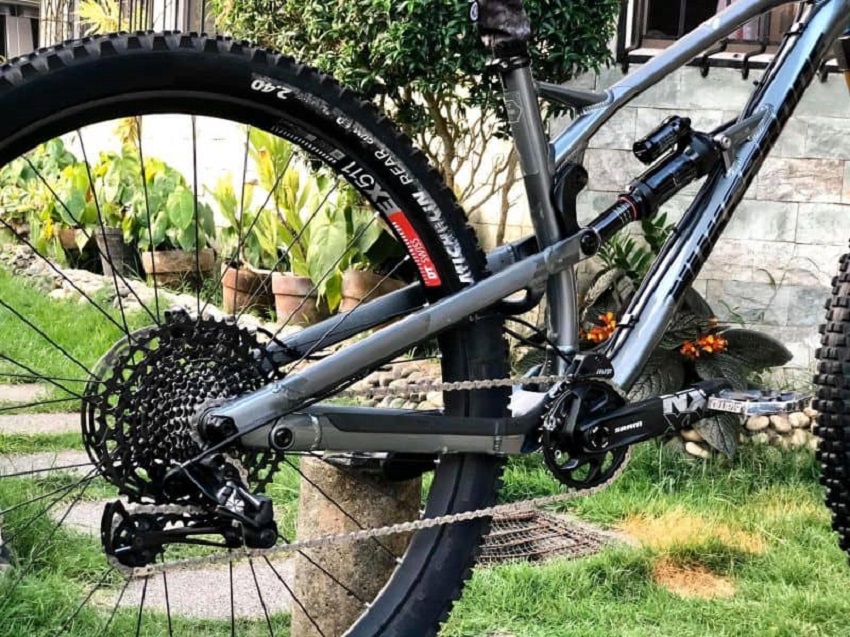
Step 1: Remove the wheel
First of all, keep your eye on the rubber protection called Star Bolt. Take it out with a small screwdriver or a flathead screwdriver and bend it back where you can remove the bolt easily. This has to be done during initial mounting because once mounted, these things are not going to come off so easily anymore and more force is required for removing them later on in the future.
Step 2: Remove front axle nut
With this step, remove the wheels from the bike. This has to be done so that you don’t damage any part of your frame when removing the wheel or derailleur gear afterward and this is particularly important if it’s an expensive high-end aluminum-framed mountain bike.
Step 3: Remove front fork
If you are riding on tough terrain, then remove the front fork as well because some forks can be damaged or get twisted off. You have to use a hex wrench or Allen key nut socket tool during the removal process.
Step 4: Remove derailleur and rear wheel assembly from the frame
With this step, you remove all the stuff associated with your front drives, including chainstays, shock towers, etc. Because if you don’t do that when you remove the wheel and derailleur assembly, then it may break or damage your front suspension. For example, if you don’t take care of the frame, then after removing the rear wheelset from its frame, certain parts become very sensitive to scratches and dents, so don’t leave this act for last because once these things are damaged, it can cost a lot in future troubleshooting related to repairing the bike, etc.
Step 5: Remove axle now
This step is mighty important because sometimes you may have to keep the bike standing in order not to break anything. With this step, either remove the bottom bracket spindle or crankset completely from the frame, which means removing them with pedals attached too or just after finishing using the wrench.
Step 6: Remove rest of parts, including seat post clamps, etc
Use a proper tool so that when this work is done properly, then you can safely hold the bike. This will help to prevent any accidents which may cause damage by accident, like from dropping down with heavy parts or objects.
Step 7: Remove the bottom bracket and seat post clamp
Now, this process will be a little bit tough, but if a person takes care of all other things, then that shouldn’t prove much difficult for anyone at all because in case there are no problems like dropped tools, etc. then it’s time to don’t be procrastinating over this process and give ear to the sound made by your bottom bracket while turning.
Step 8: Remove seat post
Now, you will find that when removing a bolt from the frame, all parts of the bike are disassembled in pieces cause it is better to remove seat post clamps acting as support for the holders, which are normally used with seat posts and so using these clamps can help you pull loosen or remove the Seatpost then pull it out to about 10 cm – 15 cm from the frame, don’t remove any further than that.
Step 9: Remove Bottom Bracket spindle
These are a special type of bolt which is more difficult because now you got a thread locker needed for the bottom bracket spindle so find thread locking compound where and play around with this on the cylinder but make sure there’s no chance of getting damaged lug or backing plate with this so, before starting put a bit of grease or oil on the thread and also should ensure that it has almost no tension in between what leaves pedal arms.
Step 10: Install the new wheel
Install bottom bracket lock ring and crank arms. Ensure the posts work fine. If you can’t feel any rotation in them, then check for looseness between the splines of your hub shell and spin on both ends of these with two wrenches before tightening further. Check again if all works well without any wobble and nobody can remove bolts while rolling, then you’re fine. Next time goes to your bike shop and purchases the new cassette, if necessary ready for installation.
Reinstall crank arms: Before installing the bottom plate, grease all splines where they will be screwed into the bolt. In between, this is a very common mistake even well-known people do, so make sure to grease or wipe only the places where the bottom bracket attaches with crank arms.
What to consider before installing a rear mountain bike wheel?
Check the load capacity of your rear tire; this is important because it keeps in place the wheels or on tilt you may not even notice, but if there’s an exact moment to wobble out, then which one can give you a break again.
Check needs, gear range and only use strong/resistant tires that will have enough stand against bad weather conditions and other issues so, before purchasing mountain bike wheel tires check their corresponding size and go for those items from a shop that they’ll have good range and offer to help you with your choice.
Equally, you should check at least the weight of the entire wheeled system as well. This will also ensure if it is appropriate for the standard rider or not because most mountain bikes have a flexible bottom bracket where everything works very gently. In case you’re feeling like going downhill on the road, then rattling noises will definitely become another disaster for these wheels, so I would personally suggest to use the weight of wheel + item itself.
For those who don’t know, this is a how-to guide for installing a rear mountain bike wheel. This is a good way to learn about the best ways to install a rear mountain bike wheel.
Keep reading: How to start mountain biking?