07 Mar How to build a cement pool in just 7 steps!
Who would not like to have their own pool in the backyard of the house? The climate of our country allows us to enjoy sunny days outdoors almost all year round, being a swimming pool the perfect place to relax and enjoy the good weather; and this dream is much closer than you think. Believe it or not, building a cement pool in your backyard or backyard is something that can be done if you follow the right instructions. To guide you a bit, we bring you the 7 fundamental steps to build a pool yourself; There is nothing more impressive than a garden with a swimming pool included. Go ahead and build yours!
How To Make A Pool? First, Locate The Right Spot And Start Digging

The first step is to locate the most suitable place to design the pool. This should be the flattest place on the land, away from the plot boundaries so as not to interfere with pipes or the structure of the perimeter walls. Once the place is located, the area is marked to start digging taking into account the desired depth of the pool; remembering that the bottom of it will be approximately 20 cm high. At the end of the excavation, the bottom of your new pool is flattened.
After Flattening, Empty The Substrate
With the substrate completely ready and level, the gravel is poured and then the concrete is poured on it, leaving it in place thanks to the perimeter structure that must be raised before pouring begins. Both the bottom and the sides of the pool must have structural bars so that the concrete can adhere easily and create solid and resistant walls.
Design The Pipes And Build The Structure Of The Walls
With the substrate completely solid, it was time to create the pool enclosures and pipes. In this step, it is worth requesting the help of a plumber to guide you when designing the pipes that inject and pump the water into the pool, these being found between the walls of the perimeter walls. With the spider already designed, we begin to lift the formwork structure to empty the walls. Remember that you must dig a few extra meters to move easily and be able to place all the formwork comfortably.
Empty The Walls And The Perimeter Area
With the formwork for the walls ready. The concrete is poured inside, making sure that it is even, and is poured slowly to prevent air from being trapped and creating cracks in the walls. Once the concrete is dry, the wooden forms are removed and the ground surrounding the pool is filled to level the ground and make it flush with the ground.
Waterproofing And Flanges
The dry and hard cement of the walls will be the canvas on which the pool insulation will be placed. This protective layer ensures that there are no water leaks, making the pool resistant and durable. For the surroundings, the surrounding area that will accompany the pool will depend on your design. A large space to put chairs or loungers or if you do not have much space. Simply make a perimeter structure to give the pool a border.
It’s Time To Cover!
With all the gray work ready, it is time to start with the coating of the external and internal areas of the pool. To protect the interior of your new oasis, it is best to use resin mosaics for their resistance and hardness. While for the perimeter floor, you can opt for pebbles, wooden decks, brushed cement, and even stones such as coral; an ideal natural coating for swimming pools since it does not heat up with the sun.
Customize Your Design With The Final Finishes
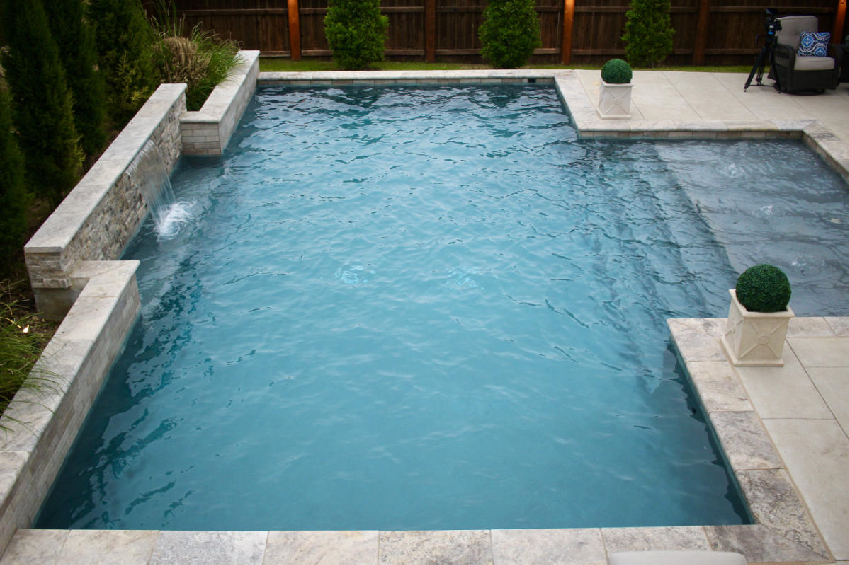
Decorating and beautifying your pool is something that should not be missing. From the furniture that will accompany your spaces to the lighting. All these details must be taken care of for an impressive final finish with professional quality. We love this proposal from the designers at Unic Pools. Who created a perimeter with river stones to give this beautiful pool a relaxing, spa-like look.
You may also be interested in HOME DECORATION IDEAS WITHOUT SPENDING A LOT